Install Linode Longview on Laravel Forge Server
I always think that when you are working on some enhancement, it needs to have a way to measure it. If you just tweak anything without measure, you might just waste your time doing some good to have enhancement.
I have been planning to do some enhancement on my server. I used Laravel Forge to provision my server, but one of the problem when using Laravel Forge provision server is there is no server stat you can monitor.
When I am looking for a solution, suddenly I recall that Linode is coming with a free tool call “Longview“. Although the free version only keep track of 12 hours of historical data, it should be enough, and it is only one button click to upgrade if there is a need.
I going to show you step by step how to install Longview on your server, the following instructions assume that you have a Laravel Forge provisioned server and own a Linode account.
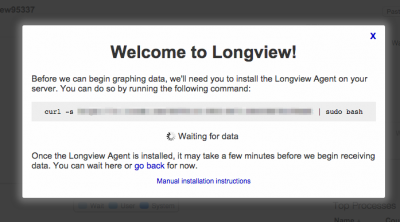
1. First login your Linode Manager, navigate to Longview section and click on “Add Client”, there should be a pop-up show.
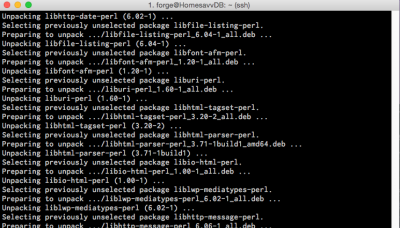
2. Now login your server through SSH and follow the instruction do the “curl -s xxx xxx | sudo bash” command, you will see lots of text running after you key in the command.
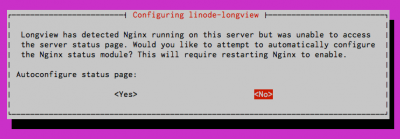
3. Once everything has been download and configure, there will be a popup asking to autoconfigure status page, choose No
4. Once it done, create a conf file under /etc/nginx/conf.d/ , you can done it with simple command
sudo vi /etc/nginx/conf.d/longview.conf
insert the content for this conf file
server {
    listen 127.0.0.1:80;
    server_name 127.0.0.1;
    location /nginx_status {
        stub_status on;
        allow 127.0.0.1;
        deny all;
    }
}
5. Restart the Nginx server through the Laravel Forge interface.
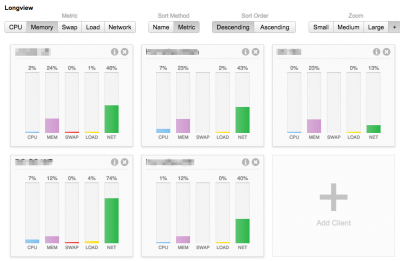
6. By now checking on the Longview interface on Linode, you should be start seeing the server stat.
P/S Linode has just expanded to Singapore, you can now launch your instance in Singapore DC !


